h. Build an HPC Cluster
In this section, you create a cluster based on the specifications defined in the configuration file. To create a cluster, you use the command pcluster create-cluster (details here) and the –cluster-configuration (or -c) option for specifying the cluster configuration file.
In your AWS Cloud9 terminal, run the following to create a cluster. Make sure that the configuration file path is correct.
pcluster create-cluster --cluster-name hpc --cluster-configuration config.yaml
Your cluster will take a few minutes to build. The following status message will be printed to the terminal window.
{
  "cluster": {
    "clusterName": "hpc",
    "cloudformationStackStatus": "CREATE_IN_PROGRESS",
    "cloudformationStackArn": "arn:aws:cloudformation:eu-west-1:03xxxxxxx:stack/cfd/67df3d40-4797-11ec-8758-0aef8dbeecd5",
    "region": "eu-west-1",
    "version": "3.5.1",
    "clusterStatus": "CREATE_IN_PROGRESS"
  },
}
During the launch process, you can check on the status of the cluster using the pcluster list-clusters command.
There can be only one cluster of a given name at any time in your account.
What’s Happening in the Background
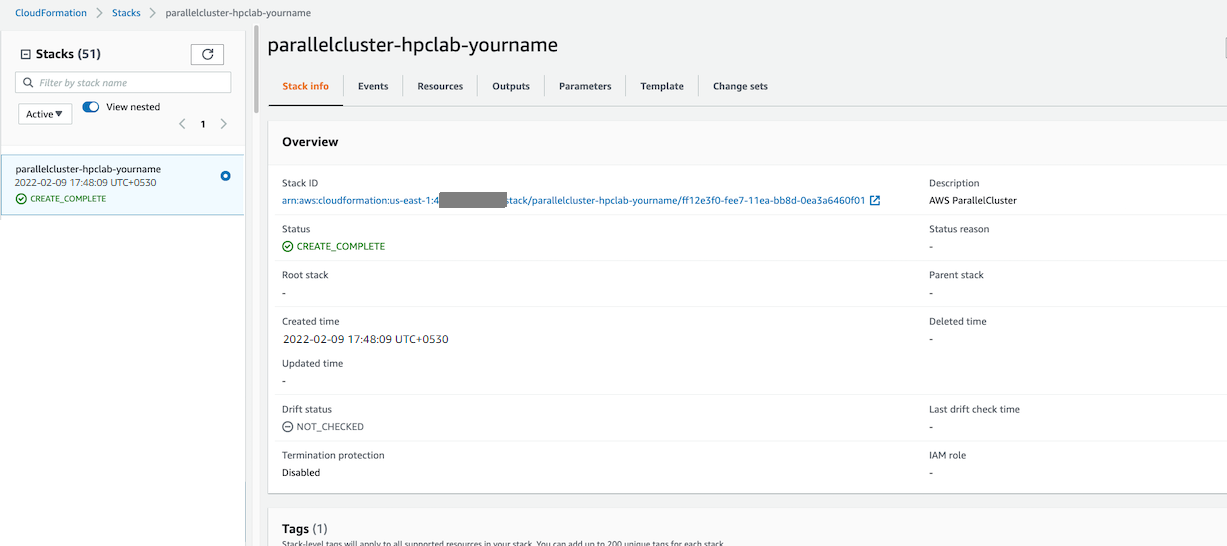
When the pcluster create-cluster command is executed, AWS ParallelCluster generates an AWS CloudFormation template to generate an infrastructure in AWS. The bulk of the work is done in AWS and once the create is launched, you don’t need to keep AWS ParallelCluster running. If you want to see AWS CloudFormation generating the infrastructure, you can view the CloudFormation console. The following image shows cluster creation in the CloudFormation console.
